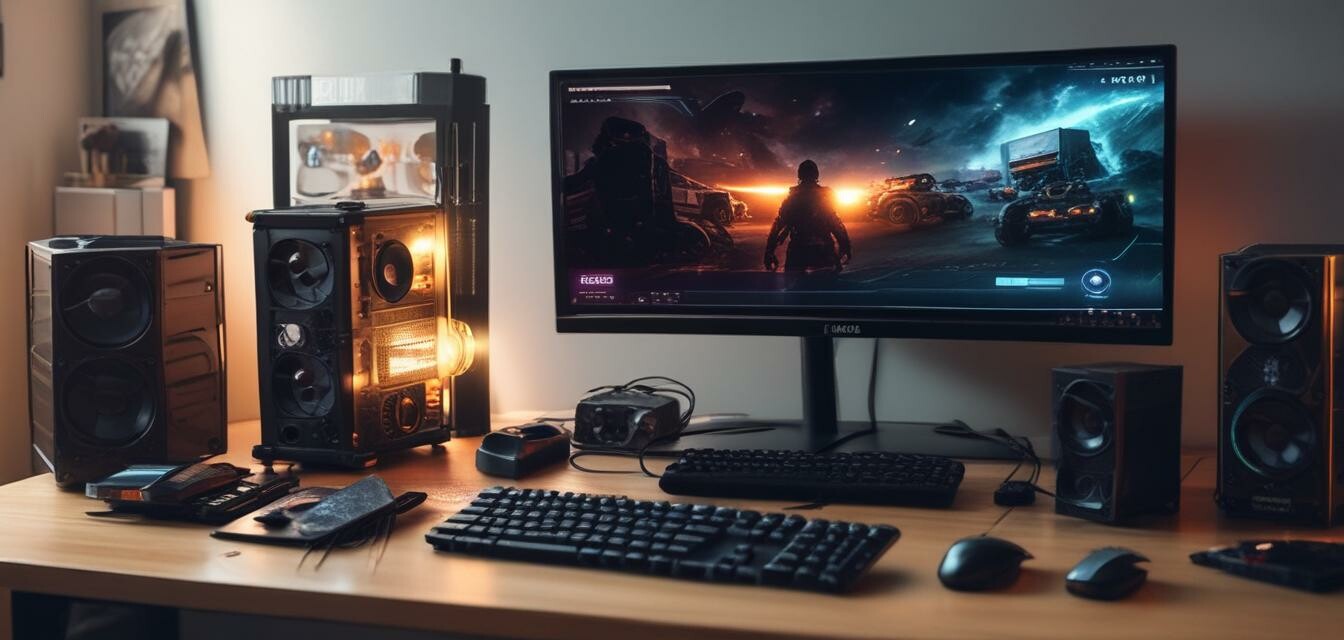
How to Build Your First Custom Gaming PC
Key Takeaways
- Start by selecting the right components based on your budget and needs.
- Follow a step-by-step assembly process to avoid mistakes.
- Ensure proper cooling and cable management for optimal performance.
- Test your PC after assembly to ensure everything functions correctly.
- Consider using guides and videos for additional support during assembly.
Building your first custom gaming PC can be both an exciting and daunting task. With the right guidance, you can create a powerful gaming system tailored to your specific needs. In this comprehensive guide, we’ll cover everything from choosing the right components to step-by-step assembly instructions. Whether you're looking for ultra-performance in gaming or a budget-friendly alternative, this guide will help you get started.
Choosing the Right Components
The first step in building your gaming PC is selecting the appropriate components. Here's a breakdown of the essential parts you'll need:
| Component | Description |
|---|---|
| CPU (Processor) | The brain of your PC; choose a powerful one for gaming performance. |
| GPU (Graphics Card) | Crucial for rendering high-quality graphics in games. |
| Motherboard | Connects all components; ensure compatibility with your CPU and GPU. |
| RAM (Memory) | 4GB is the minimum, but 8GB or more is recommended for gaming. |
| Storage | Choose SSD for faster loading times or HDD for larger capacity. |
| Power Supply | Powers all components; check the wattage requirement. |
| Case | Holds all components; ensure it has good airflow. |
| Cooling | Air or liquid cooling solutions to keep your PC at optimal temperatures. |
Step-by-Step Assembly Instructions
Once you've selected the components, it's time to assemble your gaming PC. Follow these steps to ensure a successful build:
- Preparation:
- Gather your tools—usually a screwdriver is all you need.
- Get your workspace ready with sufficient lighting and space.
- Install the CPU:
- Open the motherboard socket and gently place the CPU in it.
- Lock it in place carefully to avoid bending pins.
- Attach the CPU Cooler:
- Follow the cooler's instructions for correct installation.
- Install RAM:
- Insert the RAM sticks into the designated slots on the motherboard.
- Prepare the Case:
- Remove any side panels and install spacers in the case.
- Route power cables if necessary before placing the motherboard.
- Install the Motherboard:
- Align it with the spacers and secure it using screws.
- Install the GPU:
- Insert the graphics card into the appropriate slot on the motherboard.
- Connect Storage Devices:
- Attach SSDs or HDDs according to the manufacturer’s guidelines.
- Wiring:
- Connect power supply cables to the motherboard, CPU, and GPU.
- Ensure proper routing for cable management.
- Final Checks:
- Double-check all connections and ensure everything is seated properly.
- Install the side panel of the case.
Testing Your New Gaming PC
Once you’ve assembled your gaming PC, it’s essential to test its performance:
- Connect your monitor and peripherals.
- Power on the system and enter the BIOS to check if all components are recognized.
- Install the operating system and necessary drivers.
- Run benchmarking software to test performance.
Tips for a Successful Build
Beginner's Tips
- Follow video tutorials; visual aids can clarify complex steps.
- Handle components carefully; avoid static damage by grounding yourself.
- Take your time; building requires patience and attention to detail.
- Don't hesitate to seek help in online forums if you're stuck.
Pros
- Customization according to your specific gaming needs.
- Potential for significant cost savings over pre-built systems.
- Better understanding of computer components and maintenance.
- Ability to upgrade parts in the future as technology advances.
Cons
- Initial learning curve can be overwhelming for beginners.
- Time-consuming process compared to purchasing a pre-built.
- Risk of compatibility issues if components are not well researched.
- Building errors can lead to malfunctions if not careful.
Resources for Further Learning
For more in-depth guides and comparisons on gaming gear, consider exploring our categories:
- Buying Guides - Deep dives into selecting gaming gear.
- Gaming Accessories - Enhance your gaming experience.
- Gaming Desktops - Explore options for powerful systems.
- News and Trends - Stay updated on the latest in the gaming world.
- Accessories Spotlight - Spotlight on must-have accessories for gamers.
Now that you have a practical guide to building your first custom gaming PC, put your knowledge to the test. Enjoy the process, and most importantly, have fun gaming!
